Stable Diffusion Tutorial: Create Stunning Videos Using AI
Share
What is Stable Diffusion?
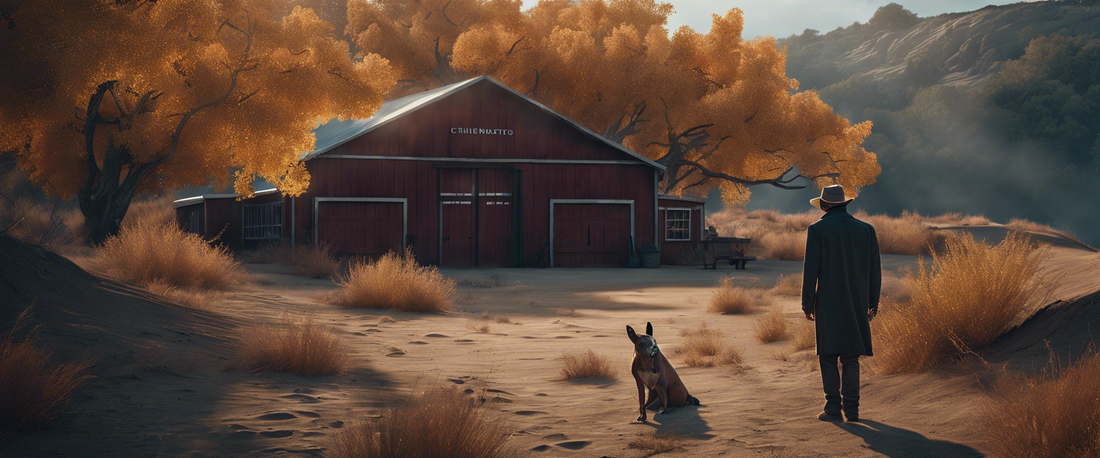
Stable Diffusion is an open-source latent text-to-image diffusion model that has taken the AI art community by storm. This powerful tool allows users to generate stunning images from text prompts, making it a favorite among artists, designers, and digital creators. You can find more details about the model and its capabilities here or even try it out yourself; the code is accessible on platforms like GitHub.
Our Goal: Creating a Video through Interpolation
In this tutorial, our primary objective is to utilize the Stable Diffusion model to generate images and subsequently create a video through an interpolation process. We will simplify the coding requirements by leveraging the stable_diffusion_videos library, which handles the complex moments of interpolation between latent spaces. Should you be interested in understanding how this library operates under the hood, feel free to explore the code on GitHub. Additionally, if you encounter any challenges, you are welcome to ask questions in our dedicated channel available on Discord.
Setting Up: Running the Tutorial on Google Colab
To get started, we will be using Google Colab and Google Drive to store our movie frames and completed video. Follow the steps below to prepare your environment:
Step 1: Install Dependencies and Connect Google Drive
First off, you need to install all necessary dependencies and connect your Google Drive to Colab for saving purposes. You can set everything up by running the following commands in your Colab notebook:
!pip install stable_diffusion_videos
from google.colab import drive
drive.mount('/content/drive')
Step 2: Authentication with Hugging Face
The next task is to authenticate with Hugging Face to access models. You can find your token here. Enter it when prompted in your Colab notebook.
Generating Images and Video
To begin generating video content, you will define prompts. These prompts act as references for the images to be interpolated. You will use a dictionary to organize these prompts:
prompts = {"start": "First prompt description", "end": "Final prompt description"}Now, you can initiate the image generation process using the following code:
video = stable_diffusion_videos.interpolate(prompts, steps=100)Please note that the duration of the process might vary depending on the parameters specified, including the number of inference steps.
Parameter Adjustments
While using 100 steps between prompts is standard, you can opt for more steps to achieve better quality results. Consider experimenting with other parameters like num_inference_steps for enhanced creativity. After executing the code, you will find the video saved in your Google Drive, ready for download and sharing with family or friends.
Bonus Tip: Using Multiple Prompts
For those looking to enhance their results even further, the good news is you can utilize more than two prompts! This allows for a richer interpolation experience:
prompts = {"prompt1": "Description 1", "prompt2": "Description 2", "prompt3": "Description 3"}Conclusion
Thank you for reading this tutorial! We hope you find joy in experimenting with the Stable Diffusion model and creating your own unique videos. Keep an eye out for our next tutorials, where we’ll explore more features and creative potential!


